
Введение
Jellyfin — это бесплатное решение для потоковой передачи мультимедиа с открытым исходным кодом, которое позволяет вам разместить собственный медиасервер. Его можно установить на Linux, Windows и macOS. Вы можете управлять своими медиафайлами, такими как фильмы, телепередачи, музыка и фотографии, и делиться ими на нескольких устройствах с помощью Jellyfin. Он также предоставляет приложения для Android, Android TV и Amazon Fire TV. Он предлагает несколько функций, включая поддержку DLNA, отсутствие ограничений на воспроизведение, автоматическое извлечение метаданных из TheTVDB, TheMovieDB и Rotten Tomatoes, автоматическую запись, поддержку аппаратного ускорения и многое другое.
В этом руководстве мы объясним, как установить и настроить медиасервер с Jellyfin в Ubuntu 20.04.
Если вы хотите установить Jellyfin Media Server на удаленный сервер, продолжайте чтение, в противном случае пропустите первый абзац «Подключение к серверу» и прочитайте следующий.
Подключение к серверу
Чтобы получить доступ к серверу, вам нужно знать IP-адрес. Вам также потребуется ваше имя пользователя и пароль для аутентификации. Чтобы подключиться к серверу как root, введите следующую команду:
ssh root@IP_DEL_SERVERДалее вам нужно будет ввести пароль пользователя root.
Если вы не используете пользователя root, вы можете войти в систему с другим именем пользователя, используя ту же команду, а затем изменить root на свое имя пользователя:
ssh nome_utente@IP_DEL_SERVERЗатем вам будет предложено ввести пароль пользователя.
Стандартный порт для подключения по ssh — 22, если ваш сервер использует другой порт, вам нужно будет указать его с помощью параметра -p, затем введите следующую команду:
ssh nome_utente@IP_DEL_SERVER -p PORTAПредпосылки
- Сервер под управлением Ubuntu 20.04.
- Действительное доменное имя указывало на IP-адрес вашего сервера.
- Пароль root настроен на сервере.
Начать
Перед запуском обновите системные пакеты с помощью следующей команды:
apt-get update -yПосле обновления всех пакетов установите другие необходимые зависимости с помощью следующей команды:
apt-get install apt-transport-https ca-certificates gnupg2 -yПосле того, как вы установили все зависимости, вы можете перейти к следующему шагу.
Установить Желефин
По умолчанию пакет Jellyfin недоступен в стандартном репозитории Ubuntu 20.04. Затем вам нужно будет добавить репозиторий Jellyfin в вашу систему. Сначала загрузите и добавьте ключ GPG с помощью следующей команды:
wget -O - https://repo.jellyfin.org/jellyfin_team.gpg.key | apt-key add -После добавления ключа GPG добавьте репозиторий Jellyfin в APT с помощью следующей команды:
echo "deb [arch=$( dpkg --print-architecture )] https://repo.jellyfin.org/ubuntu focal main" | tee /etc/apt/sources.list.d/jellyfin.listЗатем обновите кэш репозитория и установите Jellyfin с помощью следующей команды:
apt-get update -yapt-get install jellyfin -yПосле установки Jellyfin вы можете проверить статус службы Jellyfin с помощью следующей команды:
systemctl status jellyfinВы должны получить следующий результат:
? jellyfin.service - Jellyfin Media Server
 Loaded: loaded (/lib/systemd/system/jellyfin.service; enabled; vendor preset: enabled)
 Drop-In: /etc/systemd/system/jellyfin.service.d
 ??jellyfin.service.conf
 Active: active (running) since Sun 2020-12-27 06:15:40 UTC; 58s ago
 Main PID: 8454 (jellyfin)
 Tasks: 16 (limit: 4691)
 Memory: 92.3M
 CGroup: /system.slice/jellyfin.service
 ??8454 /usr/bin/jellyfin --webdir=/usr/share/jellyfin/web --restartpath=/usr/lib/jellyfin/restart.sh --ffmpeg=/usr/lib/jellyfin-f>

 Dec 27 06:15:48 ubuntu2004 jellyfin[8454]: [06:15:48] [INF] Registering publisher for urn:schemas-upnp-org:device:MediaServer:1 on 104.245.33.>
 Dec 27 06:15:48 ubuntu2004 jellyfin[8454]: [06:15:48] [INF] Executed all pre-startup entry points in 0:00:00.6715621
 Dec 27 06:15:48 ubuntu2004 jellyfin[8454]: [06:15:48] [INF] Core startup complete
 Dec 27 06:15:48 ubuntu2004 jellyfin[8454]: [06:15:48] [INF] Executed all post-startup entry points in 0:00:00.3885698
 Dec 27 06:15:48 ubuntu2004 jellyfin[8454]: [06:15:48] [INF] Startup complete 0:00:08.0109863
 Dec 27 06:15:50 ubuntu2004 jellyfin[8454]: [06:15:50] [INF] StartupTrigger fired for task: Update Plugins
 Dec 27 06:15:50 ubuntu2004 jellyfin[8454]: [06:15:50] [INF] Queueing task PluginUpdateTask
 Dec 27 06:15:50 ubuntu2004 jellyfin[8454]: [06:15:50] [INF] Executing Update Plugins
 Dec 27 06:15:50 ubuntu2004 jellyfin[8454]: [06:15:50] [INF] Update Plugins Completed after 0 minute(s) and 0 seconds
 Dec 27 06:15:51 ubuntu2004 jellyfin[8454]: [06:15:51] [INF] ExecuteQueuedTasks
По умолчанию Jellyfin прослушивает порт 8096. Вы можете проверить это с помощью следующей команды:
ss -antpl | grep 8096Вы должны получить следующий результат:
LISTEN 0 512 *:8096 *:* users:(("jellyfin",pid=8454,fd=285))На данный момент Jellyfin запущен и работает. Теперь вы можете перейти к следующему шагу.
Настройте Nginx в качестве обратного прокси.
Далее рекомендуется настроить Nginx в качестве обратного прокси для Jellyfin. Для этого сначала установите веб-сервер Nginx с помощью следующей команды:
ss -antpl | grep 8096После установки Nginx создайте новый файл конфигурации виртуального хоста Nginx:
nano /etc/nginx/conf.d/jellyfin.confДобавьте следующие строки:
server {
 listen 80;
 server_name jellyfin.yourdomain.com;

 access_log /var/log/nginx/jellyfin.access;
 error_log /var/log/nginx/jellyfin.error;

 set $jellyfin 127.0.0.1;

 location /{
 proxy_pass http://127.0.0.1:8096;
 proxy_set_header Host $host;
 proxy_set_header X-Real-IP $remote_addr;

 proxy_set_header X-Forwarded-For $proxy_add_x_forwarded_for;
 proxy_set_header X-Forwarded-Proto $scheme;
 proxy_set_header X-Forwarded-Protocol $scheme;
 proxy_set_header X-Forwarded-Host $http_host;

 # Disable buffering when the nginx proxy gets very resource heavy upon streaming
 proxy_buffering off;
 }

 # location block for /web - This is purely for aesthetics so /web/#!/works instead of having to go to /web/index.html/#!/location ~ ^/web/$ {
 # Proxy main Jellyfin traffic
 proxy_pass http://$jellyfin:8096/web/index.html/;
 proxy_set_header Host $host;
 proxy_set_header X-Real-IP $remote_addr;
 proxy_set_header X-Forwarded-For $proxy_add_x_forwarded_for;
 proxy_set_header X-Forwarded-Proto $scheme;
 proxy_set_header X-Forwarded-Protocol $scheme;
 proxy_set_header X-Forwarded-Host $http_host;
 }

 location /socket {
 # Proxy Jellyfin Websockets traffic
 proxy_pass http://$127.0.0.1:8096;
 proxy_http_version 1.1;
 proxy_set_header Upgrade $http_upgrade;
 proxy_set_header Connection "upgrade";
 proxy_set_header Host $host;
 proxy_set_header X-Real-IP $remote_addr;
 proxy_set_header X-Forwarded-For $proxy_add_x_forwarded_for;
 proxy_set_header X-Forwarded-Proto $scheme;
 proxy_set_header X-Forwarded-Protocol $scheme;
 proxy_set_header X-Forwarded-Host $http_host;
 }

 # Security /XSS Mitigation Headers
 add_header X-Frame-Options "SAMEORIGIN";
 add_header X-XSS-Protection "1; mode=block";
 add_header X-Content-Type-Options "nosniff";

 }
Сохраните и закройте файл, когда закончите. Затем проверьте Nginx на наличие синтаксических ошибок с помощью следующей команды:
nginx -tНадеюсь, вы должны получить следующий вывод:
nginx: the configuration file /etc/nginx/nginx.conf syntax is ok
 nginx: configuration file /etc/nginx/nginx.conf test is successful
Затем перезапустите службу Nginx, чтобы применить изменения конфигурации:
systemctl restart nginxВы также можете проверить статус Nginx с помощью следующей команды:
systemctl status nginxВы должны увидеть следующий вывод:
? nginx.service - A high performance web server and a reverse proxy server
 Loaded: loaded (/lib/systemd/system/nginx.service; enabled; vendor preset: enabled)
 Active: active (running) since Sun 2020-12-27 06:18:13 UTC; 6s ago
 Docs: man:nginx(8)
 Process: 9865 ExecStartPre=/usr/sbin/nginx -t -q -g daemon on; master_process on; (code=exited, status=0/SUCCESS)
 Process: 9879 ExecStart=/usr/sbin/nginx -g daemon on; master_process on; (code=exited, status=0/SUCCESS)
 Main PID: 9883 (nginx)
 Tasks: 3 (limit: 4691)
 Memory: 3.6M
 CGroup: /system.slice/nginx.service
 ??9883 nginx: master process /usr/sbin/nginx -g daemon on; master_process on;
 ??9884 nginx: worker process
 ??9885 nginx: worker process

 Dec 27 06:18:13 ubuntu2004 systemd[1]: Starting A high performance web server and a reverse proxy server...
 Dec 27 06:18:13 ubuntu2004 systemd[1]: Started A high performance web server and a reverse proxy server.
На данный момент Nginx установлен и настроен для обслуживания Jellyfin. Теперь вы можете перейти к следующему шагу.
Войдите в веб-интерфейс Jellyfin
Теперь откройте веб-браузер и войдите в пользовательский веб-интерфейс Jellyfin, используя URL-адрес http://jellyfin.yourdomain.com. Вы будете перенаправлены на следующий экран:
Выберите свой язык и нажмите кнопку « Далее ».
Укажите имя пользователя и пароль администратора и нажмите кнопку « Далее ».
Нажмите кнопку « Далее ».
Выберите язык и страну метаданных, затем нажмите кнопку « Далее ». Вы должны увидеть следующий экран:
Выберите нужный вариант и нажмите кнопку Далее.
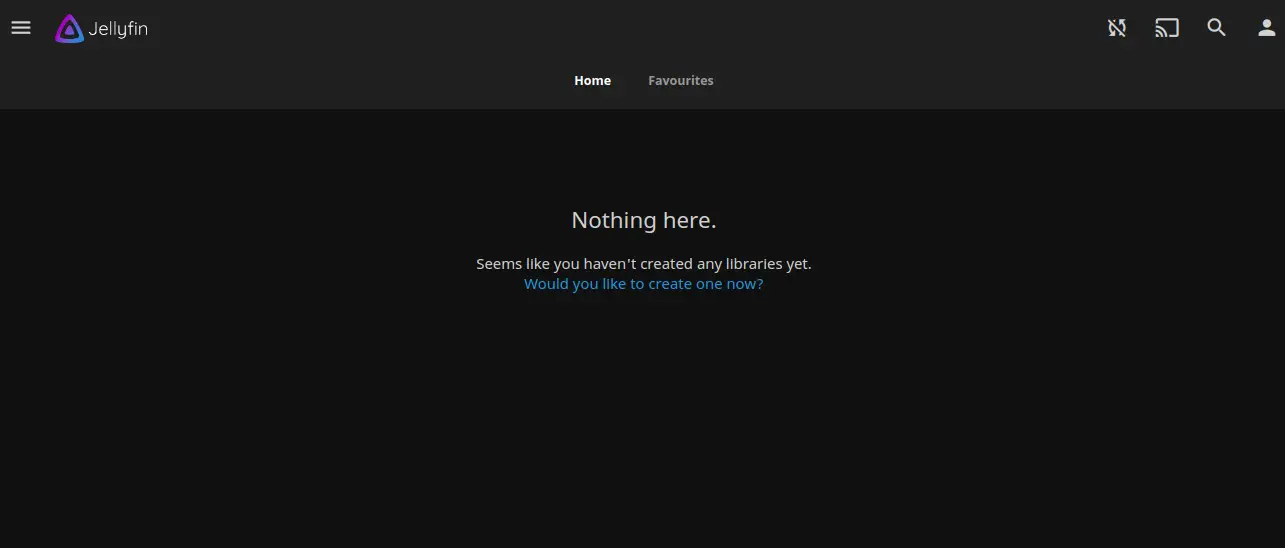
Нажмите кнопку Готово. Вы должны увидеть страницу входа в Jellyfin:
Введите имя пользователя, пароль и нажмите кнопку « Войти ».
Теперь вы можете добавлять свои медиафайлы в библиотеку и получать к ним доступ через Интернет.
Защитите Jellyfin с помощью Let’s Encrypt
Затем вам нужно будет установить клиентский пакет Certbot, чтобы установить управление Let's Encrypt SSL. Сначала установите Certbot с помощью следующей команды:
apt-get install python3-certbot-nginx -yПосле завершения установки выполните следующую команду, чтобы установить Let's Encrypt SSL на свой веб-сайт:
certbot --nginx -d jellyfin.yourdomain.comВам будет предложено указать действующий адрес электронной почты и принять условия обслуживания, как показано ниже:
Saving debug log to /var/log/letsencrypt/letsencrypt.log
 Plugins selected: Authenticator nginx, Installer nginx
 Enter email address (used for urgent renewal and security notices) (Enter 'c' to
 cancel): hitjethva@gmail.com

 - - - - - - - - - - - - - - - - - - - - - - - - - - - - - - - - - - - - - - - -
 Please read the Terms of Service at
 https://letsencrypt.org/documents/LE-SA-v1.2-November-15-2017.pdf. You must
 agree in order to register with the ACME server at
 https://acme-v02.api.letsencrypt.org/directory
 - - - - - - - - - - - - - - - - - - - - - - - - - - - - - - - - - - - - - - - -
 (A)gree/(C)ancel: A

 - - - - - - - - - - - - - - - - - - - - - - - - - - - - - - - - - - - - - - - -
 Would you be willing to share your email address with the Electronic Frontier
 Foundation, a founding partner of the Let's Encrypt project and the non-profit
 organization that develops Certbot? We'd like to send you email about our work
 encrypting the web, EFF news, campaigns, and ways to support digital freedom.
 - - - - - - - - - - - - - - - - - - - - - - - - - - - - - - - - - - - - - - - -
 (Y)es/(N)o: Y
 Obtaining a new certificate
 Performing the following challenges:
 http-01 challenge for jellyfin.yourdomain.com
 Waiting for verification...
 Cleaning up challenges
 Deploying Certificate to VirtualHost /etc/nginx/sites-enabled/jellyfin.conf
Затем выберите, следует ли перенаправлять HTTP-трафик через HTTPS, как показано ниже:
- - - - - - - - - - - - - - - - - - - - - - - - - - - - - - - - - - - - - - - -
 1: No redirect - Make no further changes to the webserver configuration.
 2: Redirect - Make all requests redirect to secure HTTPS access. Choose this for
 new sites, or if you're confident your site works on HTTPS. You can undo this
 change by editing your web server's configuration.
 - - - - - - - - - - - - - - - - - - - - - - - - - - - - - - - - - - - - - - - -
 Select the appropriate number [1-2] then [enter] (press 'c' to cancel): 2
Введите 2 и нажмите Enter, чтобы завершить установку. Вы должны увидеть следующий вывод:
- - - - - - - - - - - - - - - - - - - - - - - - - - - - - - - - - - - - - - - -
 1: No redirect - Make no further changes to the webserver configuration.
 2: Redirect - Make all requests redirect to secure HTTPS access. Choose this for
 new sites, or if you're confident your site works on HTTPS. You can undo this
 change by editing your web server's configuration.
 - - - - - - - - - - - - - - - - - - - - - - - - - - - - - - - - - - - - - - - -
 Select the appropriate number [1-2] then [enter] (press 'c' to cancel): 2
Теперь ваш сайт защищен с помощью Let's Encrypt SSL. Вы можете безопасно получить к нему доступ, используя URL-адрес https://jellyfin.yourdomain.com.
Вывод
Поздравляем! вы успешно установили и настроили Jellyfin с Nginx и Let's Encrypt SSL на сервере Ubuntu 20.04. Теперь вы можете передавать свои медиафайлы в потоковом режиме и получать к ним доступ из веб-браузера или с помощью приложения Jellyfin. Не стесняйтесь спрашивать меня, если у вас есть какие-либо вопросы.